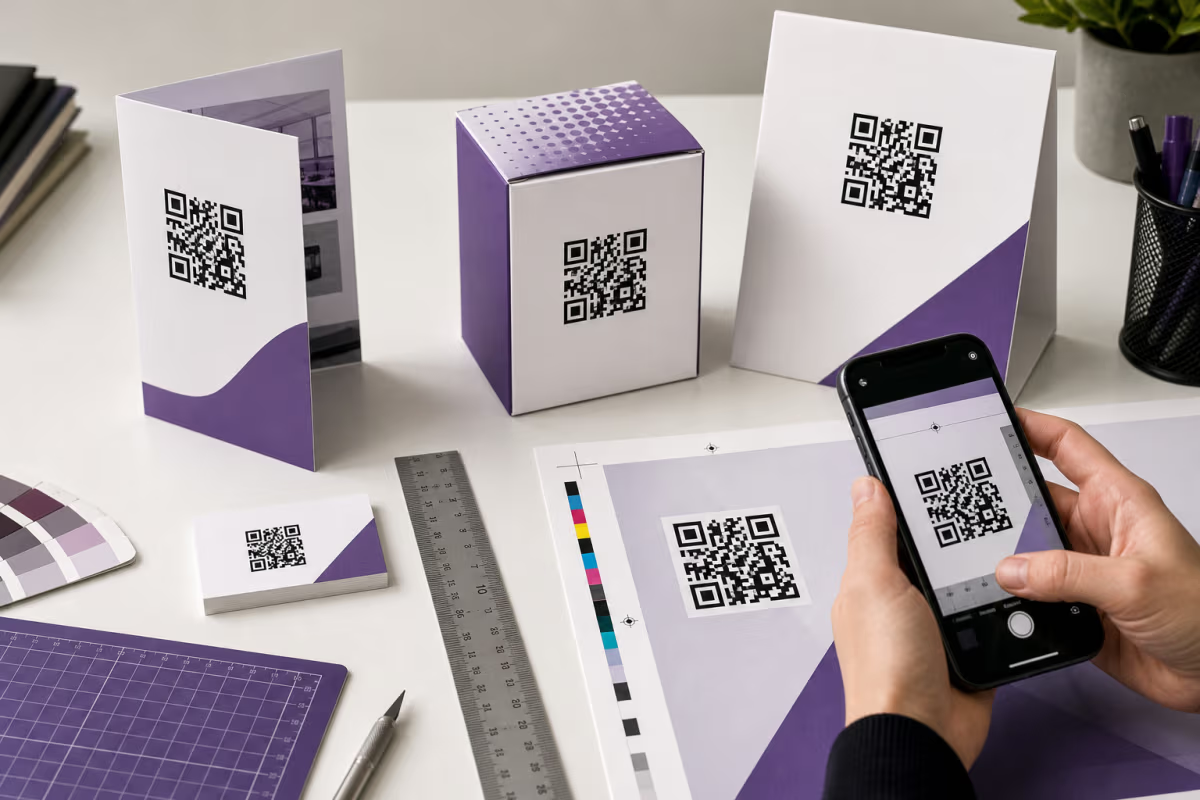
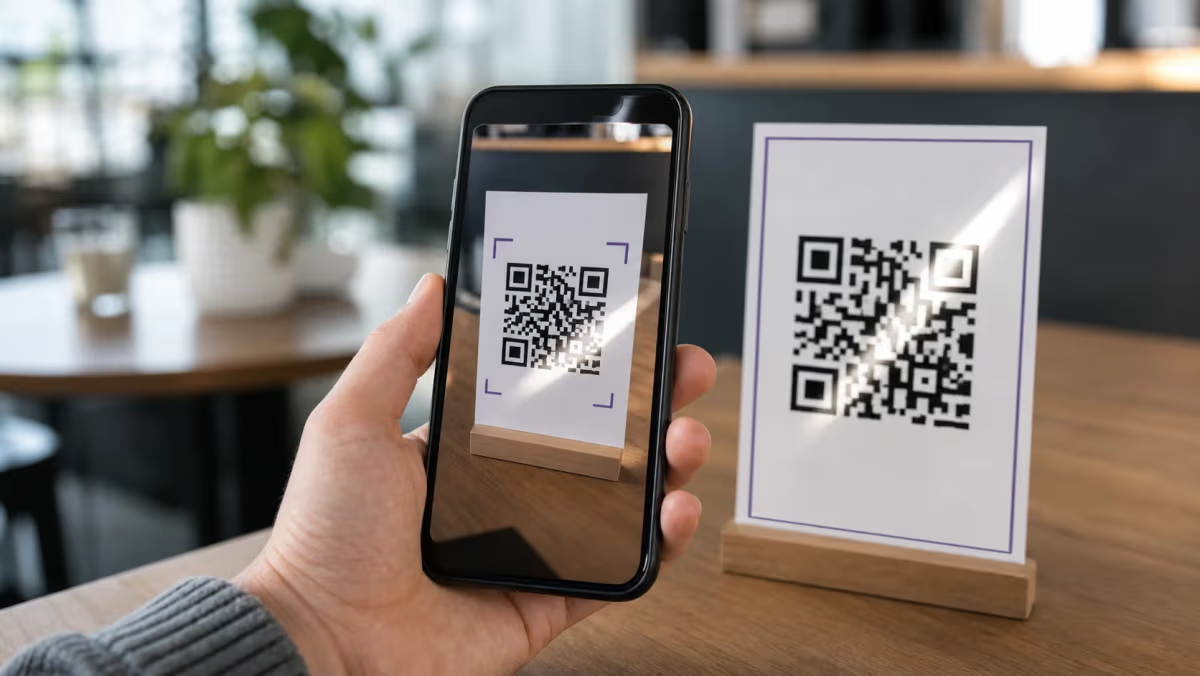
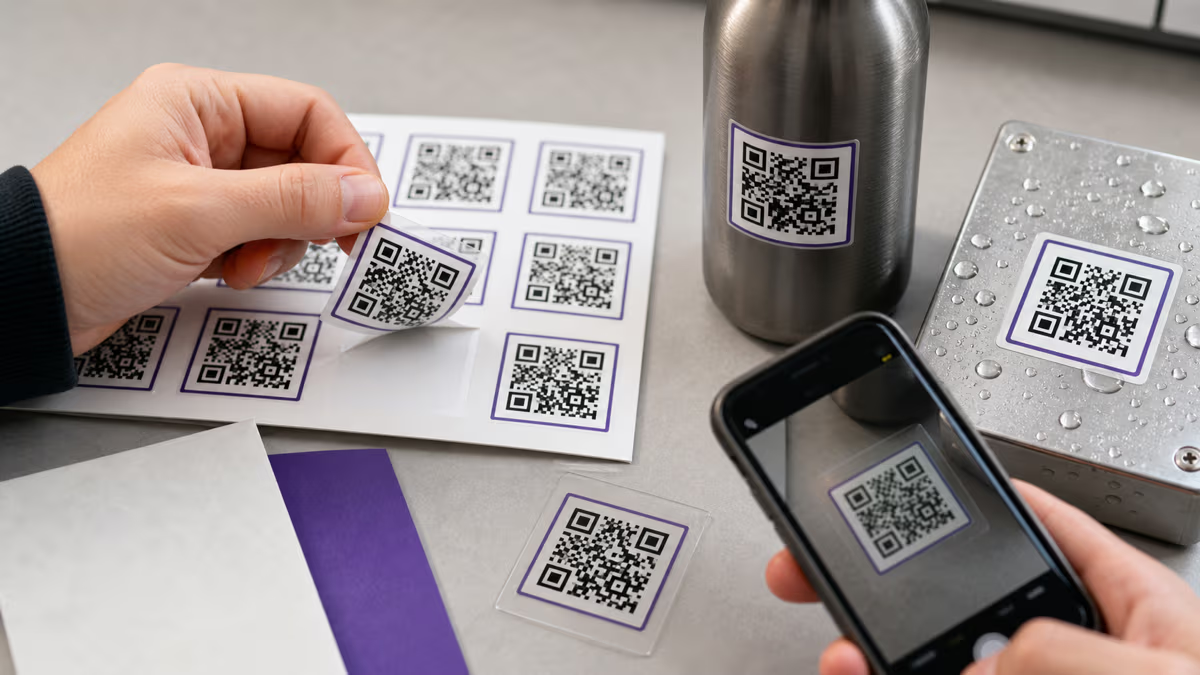
QR Code Quiet Zone: 4-Module Margin and Design Rules

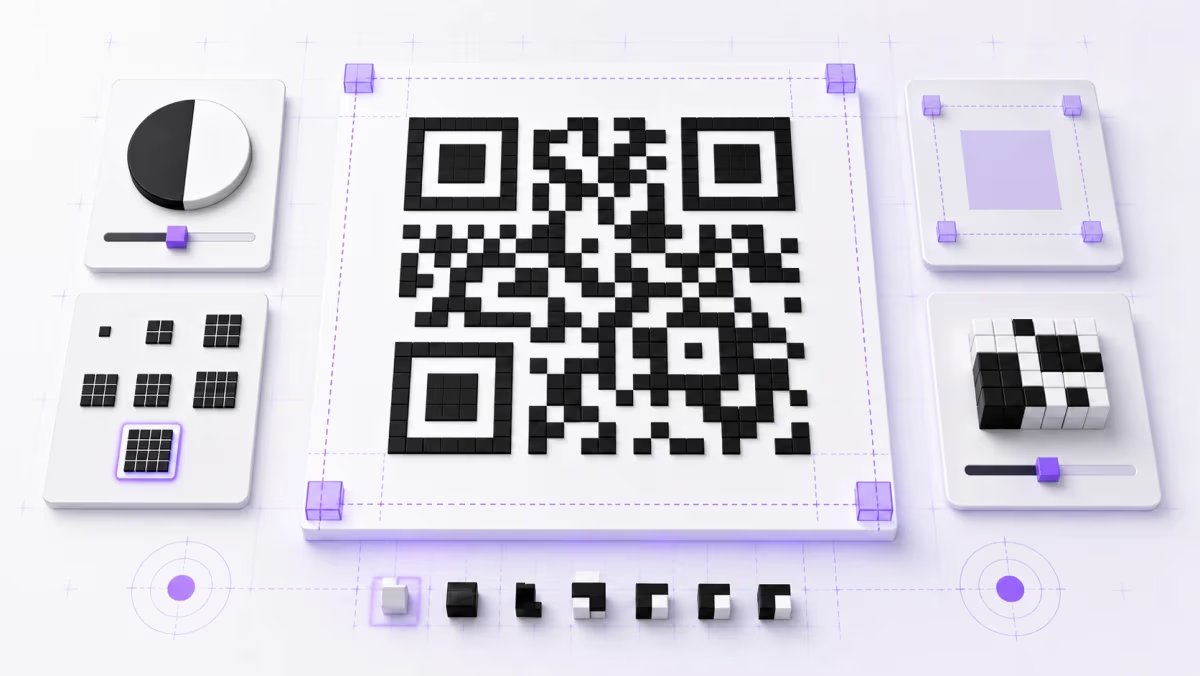
Key Takeaway
Learn how to measure a QR code's four-module quiet zone, choose colors, size modules, place a logo, export clean artwork, and test the final design.
The direct answer
A standard QR code needs a quiet zone four modules wide on every side. Measure one module, multiply it by four, and keep that entire margin visually clear. Strong dark-on-light contrast, clean functional patterns, suitable module size, and a test of the final artwork complete the design check.
A QR code design succeeds when a camera can separate the symbol from its surroundings, locate its functional patterns, and resolve each module in the final setting. The current QR code symbology specification is ISO/IEC 18004:2024. DENSO WAVE publishes practical guidance for the code area, module size, and error-correction level.
This guide separates requirements from planning shortcuts. The four-module quiet zone is a defined QR requirement. Fixed physical sizes, distance ratios, contrast ratios, logo percentages, and DPI values are useful only when they match the payload, output, placement, camera, and material being tested.
QR code design rules at a glance
| Design decision | Grounded rule | Final check |
|---|---|---|
| Quiet zone | Reserve four modules on every side | No text, border, pattern, or crop enters the margin |
| Color | Use clearly separated dark and light areas | Test the actual colors on the actual background |
| Size | Make every module resolvable at the intended distance | Proof the final size, surface, light, and camera angle |
| Logo | Keep finder, timing, and alignment patterns clear | Decode the exact export after the logo is applied |
| Error correction | Choose the level for the environment and obstruction | Confirm the denser result still prints cleanly |
| File format | Use vector for flexible print scaling or a clean raster at final size | Inspect sharp module edges after every export step |
| Context | Place a short explanation or action near the code | Keep it outside the quiet zone and readable at scan distance |
What is the quiet zone around a QR code?
The quiet zone is the clear margin surrounding all four sides of the QR symbol. DENSO WAVE specifies a margin four modules wide. A module is one square in the QR grid, so the physical or pixel width of the quiet zone changes with the module size.
To calculate it, measure one module in the final file and multiply by four. If one module is 5 pixels wide, reserve 20 pixels on the left, right, top, and bottom. The complete artwork footprint is the symbol width plus eight modules, four on each opposing side.
What belongs outside the quiet zone?
Place borders, frames, captions, logos, and surrounding artwork beyond the four-module margin. The margin can use the same uniform light color as the QR background. It does not need to be literal white, but it must remain visually separate from the dark modules and nearby design.
Keep the quiet zone in the final exported file. A generator preview can look correct while a later crop, screenshot, design-tool export, or print trim removes part of the margin.
Choose QR code colors by separation, not a fixed web ratio
Dark modules on a uniform light background provide the broadest scanning baseline. QR decoding depends on the light and dark areas remaining distinct after display or printing. Ink spread, paper color, glare, transparency, screen brightness, and camera exposure can change that separation.
A 3:1 or 4:1 number can be a useful design warning, but it is not a universal ISO/IEC 18004 compliance threshold for every QR code and setting. Treat a contrast score as an early check, then decode the actual exported image and test the real placement.
Can a QR code use brand colors?
Yes. Choose a foreground color that remains clearly darker than the background, keep the finder patterns easy to locate, and evaluate every part of a gradient against the background. A transparent background inherits whatever sits behind it, so test the finished composition instead of the transparent file by itself.
Can a QR code be inverted?
Some current scanners decode light modules on a dark background. Dark-on-light remains the safer shared baseline across devices and conditions. If an inverted treatment is part of the design, test it with the exact camera apps, screen or material, distance, and light expected in use.
Size the modules for the payload and placement
There is no single physical QR code size that fits every payload and scan distance. A denser symbol contains more modules in the same width, which makes each module smaller. The camera must still resolve those modules after printing, display scaling, glare, curvature, and viewing distance are considered.
DENSO WAVE describes size in terms of module count, module size, output resolution, and the required quiet zone. Use those inputs instead of treating 2 cm or a 10:1 distance ratio as a guarantee.
- Generate the final payload and note the completed symbol, not a temporary sample.
- Choose the intended physical or on-screen width.
- Confirm each module remains square and sharply separated at that output size.
- Keep four additional modules clear on every side.
- Test at the real distance and angle, then enlarge the code when the result is slow or inconsistent.
For a code on a curved or reflective surface, a larger flat placement can matter more than a formula. For a small label, shortening the encoded data or using a managed short destination can reduce density before the design is finalized.
Add a logo without treating error correction as a fixed coverage allowance
A centered logo can work when the three finder patterns, timing patterns, alignment patterns, format information, and quiet zone remain clear. Add a light buffer around the logo so its edge does not merge with nearby modules.
DENSO WAVE lists four error-correction levels and explains that the familiar recovery percentages apply to total codewords. They do not translate into a fixed percentage of image area that a logo may cover. The location of the covered modules, the payload, the symbol version, and the remaining print damage all affect the result.
Which error-correction level should a logo use?
Use a higher level when the logo or environment introduces more obstruction, then generate and test the resulting symbol. Higher error correction adds recovery data and can increase the symbol size. DENSO WAVE notes that Level M is commonly selected, while Q or H may suit environments where dirt or damage is more likely.
QRLynx can select M, Q, or H from the displayed logo size when error correction is left on Auto. That choice supports the design, but the exact exported image still needs a decode test.
Choose an export for the next production step
| Format | Useful when | Check before use |
|---|---|---|
| Resolution-independent SVG or A4 PDF | The print workflow needs resizing without raster enlargement | The importing application preserves square modules and the quiet zone |
| PNG or WEBP | The final pixel dimensions are known | The file has enough pixels and is not enlarged later |
| JPG | A workflow requires it and compression can remain light | Module edges stay sharp after the final save and upload |
Keep the exported modules sharp
Vector artwork is useful for print because it can be resized without enlarging a pixel grid. A lossless raster file also works when it is exported at the dimensions needed for the final placement. The practical requirement is clean, square, separated modules in the finished file.
JPEG compression can soften high-contrast edges, especially after repeated saves or aggressive optimization. That makes it a less forgiving choice, but the extension alone does not decide whether a QR code scans. Inspect and decode the final file rather than declaring every JPG valid or invalid by format.
DPI describes output density, not QR compliance by itself. For raster artwork, calculate enough pixels for the final printed width and the printer workflow, then confirm that each module survives the complete export and print process.
Use frames and nearby text without entering the quiet zone
A short line such as "Scan to view the menu" or "Scan to save contact details" tells the reader what the code opens. Keep that text readable from the intended distance and place it beyond the four-module quiet zone.
A frame can hold the message and make the code easier to notice while leaving the symbol unchanged. QRLynx QR code frames are composed around the QR rather than rewriting its module matrix. The final export should still be checked for clear spacing between the symbol, frame, and surrounding layout.
How to check a QR code design with QRLynx before publishing
Generate the final payload
Choose a static QR when the encoded content is final, or a QRLynx dynamic QR when the destination may change or eligible scans need analytics. Generate the exact URL or content that will ship because a placeholder can produce a different symbol density and module size.
Reserve the four-module quiet zone
Measure one module, multiply by four, and keep that margin clear on every side in the final artwork.
Review colors and functional patterns
Keep the light and dark areas distinct, preserve the finder, timing, and alignment patterns, and check the complete background composition.
Apply the logo and error-correction choice
Keep the logo away from functional patterns, add a separating buffer, and use the error-correction level appropriate to the obstruction and environment.
Export the production file
Use the format and dimensions required by the real print or screen workflow. Inspect the file after resizing, optimization, and placement.
Test the real placement
Decode the exact export with the QR code scanner, then proof the intended size, material, distance, angle, light, and destination on representative phones.
Check the final artwork
Test the QR image before you publish it
Upload the exact QR image you plan to use. QRLynx checks whether it decodes and reviews the design details visible in the file.
Primary sources
- ISO/IEC 18004:2024, the current QR code bar code symbology specification.
- DENSO WAVE: Point for determining the code area, including the four-module margin.
- DENSO WAVE: Point for setting the module size, covering module count and output resolution.
- DENSO WAVE: Error correction feature, covering codeword recovery and level selection.
QR code quiet zone and design FAQ
How much quiet zone does a QR code need?
A standard QR code needs a quiet zone four modules wide on the top, right, bottom, and left. Measure the module size in the final artwork and multiply it by four for each margin.
Is the four-module quiet zone part of the QR code standard?
Yes. The current QR symbology specification is ISO/IEC 18004:2024, and DENSO WAVE publishes the practical four-module margin in its code-area guidance.
How do I measure a QR code quiet zone in pixels?
Measure the width of one square module in the exported image and multiply it by four. A 6-pixel module needs a 24-pixel quiet zone on each side. The complete footprint adds eight module widths to the symbol, four on each opposing side.
Does a QR code quiet zone have to be white?
The margin can use the same uniform light color as the QR background. It should remain visually clear, strongly separated from the dark modules, and free from text, borders, patterns, or nearby artwork.
What contrast ratio does a QR code require?
ISO/IEC 18004 does not turn a web-style 3:1 or 4:1 contrast ratio into one universal QR compliance threshold for every material and camera. Use clearly separated dark and light areas, then decode the final file and test the real print or screen conditions.
What is the minimum size for a printed QR code?
There is no single physical minimum that fits every QR code. The required size depends on the symbol's module count, the printed module size, scan distance, camera, surface, light, and the four-module quiet zone. Test the final payload at the final size.
Is the 10:1 QR code scanning-distance ratio an exact rule?
The 10:1 ratio is a planning shortcut, not a decoding guarantee or a universal ISO requirement. Use it only as an early estimate, then proof the exact symbol at its intended distance, angle, size, material, and lighting.
How large can a logo be inside a QR code?
There is no universal safe logo percentage. Keep the finder, timing, alignment, and format patterns clear, add a separating buffer, choose an appropriate error-correction level, and decode the exact exported image.
Should I export a QR code as SVG, PNG, or JPG?
Use SVG when the artwork must scale without a fixed pixel limit. Use the A4 PDF when the workflow needs a print handoff containing a high-resolution raster QR image. Use PNG or WEBP when the final pixel dimensions are known. JPG can scan when its edges remain clean, but lossy compression makes it less forgiving, so test the final saved file.