QR Codes on Flyers and Posters: A Print-Proof Guide

Key Takeaway
Create a flyer or poster QR code in QRLynx, choose static or dynamic, protect the quiet zone, size it for the real viewing distance, and test the final print.
Reviewed: July 2026
This guide was checked against the current QRLynx generator, download formats, scan analytics, readability tools, and primary QR printing guidance in July 2026. Print reliability still depends on the finished artwork, material, production process, viewing distance, lighting, and scanner, so test a physical proof before the full run.
A reliable QR code on a flyer or poster needs a clear destination, enough physical space for its modules and quiet zone, strong dark-on-light contrast, a nearby reason to scan, and testing on the final printed material. QRLynx can create the code, add a frame or label, keep a dynamic destination editable, and record eligible scans. It cannot predict every printer, coating, fold, glare condition, viewing distance, or phone camera, so the final proof is the deciding test.
The safest workflow is simple: decide what should happen after the scan, build the correct QR in QRLynx, place it in the real artwork, print at production size, and test the whole journey before approving the run.
Choose the destination before designing the code
| Campaign goal | QRLynx QR type | Mode to consider |
|---|---|---|
| Open a landing page, ticket page, menu, offer, or form | Website / Link | Dynamic when the destination may change or scan measurement matters |
| Share a brochure, catalog, menu, or information sheet | PDF File | Managed file workflow when the document may need replacement |
| Offer several links such as tickets, directions, and social profiles | Multi Links or Link-in-Bio | Managed page for a compact set of choices |
| Add a fixed event directly to a calendar | Event | Static payload when the encoded details are final |
| Share venue WiFi credentials | WiFi | Static payload, with careful handling of the password |
Static or dynamic for a printed flyer?
Choose based on the job, not a blanket rule. A static QR stores its final payload in the pattern. It suits information that is unlikely to change, such as a fixed WiFi configuration or calendar event, and it does not use a QRLynx redirect for scan analytics. If the encoded content changes, the artwork must be regenerated and reprinted.
A dynamic QRLynx Website / Link QR stores a managed short link. You can change the destination later without replacing the printed pattern, and eligible redirect events can appear in QRLynx analytics. This is usually the practical choice for campaigns, ticket links, seasonal offers, or any destination that may move.
Dynamic does not repair an unreadable print. It protects destination flexibility after printing. The pattern, quiet zone, contrast, placement, and physical proof still have to work.
How to create a flyer or poster QR code in QRLynx
Build the code around the campaign action, then prove it in the final artwork.
Define the one action after the scan
Choose the exact page or payload the flyer should open. For most campaigns, prepare a focused mobile page with the promised offer, ticket, form, menu, or information. Confirm that the destination works before creating the code.
Select the matching QRLynx QR type
Open the QRLynx QR generator and choose Website / Link for a web destination, PDF File for a document, Multi Links or Link-in-Bio for several choices, Event for fixed calendar details, or WiFi for venue access.
Choose static or dynamic deliberately
Use a dynamic Website / Link QR when you need to edit the destination after printing or measure eligible scans. Use a static payload when the information is final and the QR type is intended to carry it directly. Tracking requires a dynamic URL.
Design for recognition, not decoration
Keep the modules dark against a light background. Use QRLynx colors, logo, pattern, frame, and label controls carefully. A short label such as Scan for tickets should tell the reader what happens next. Keep the four-module quiet zone clear.
Export the code for the print workflow
Download a clean PNG or PNG HD from the free Starter plan, or use SVG or PDF from Starter+ when a vector file fits the printer's workflow. Place the exported code without stretching, cropping, or covering its quiet zone.
Test the artwork and the physical proof
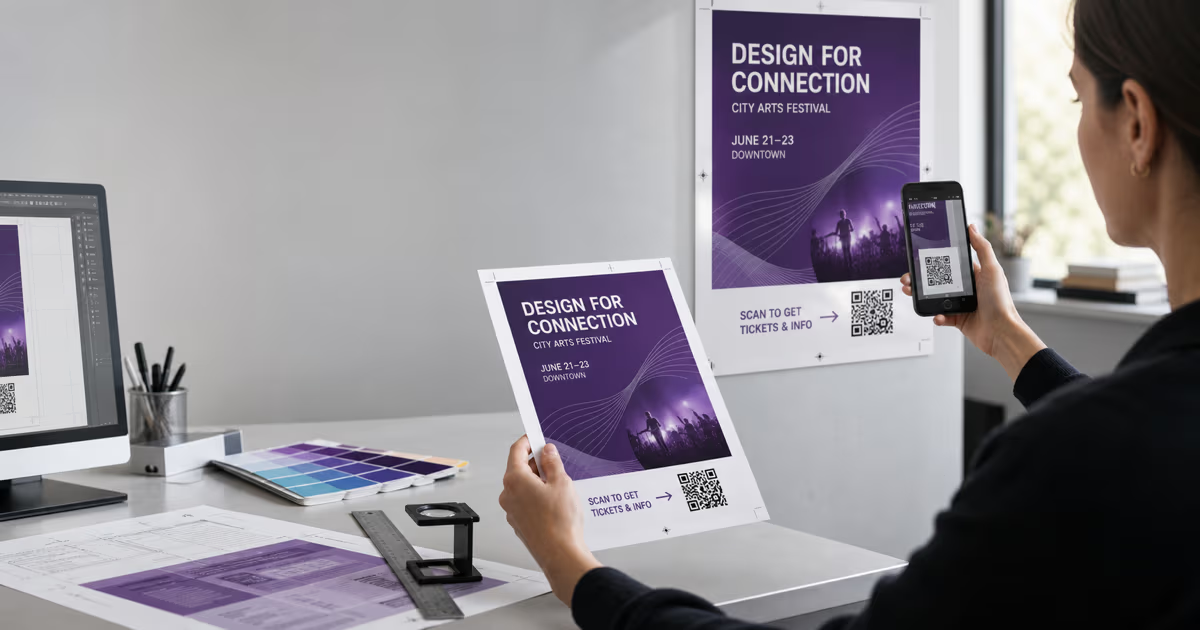
Test the exported artwork, then print one proof at final size on the intended stock and finish. Scan it with more than one phone at the closest and farthest realistic distances, in typical lighting, and from a slight angle. Confirm the destination and page experience before approving the run.
Print campaign workflow
Create and proof your flyer QR
Build the right destination in QRLynx, label the scan action, then test the exported artwork and one physical proof before printing the full quantity.
How large should the QR code be?
There is no universal physical size that works for every flyer and poster. The required size changes with the number of modules, viewing distance, camera, lighting, material, print sharpness, and design. DENSO WAVE explains size through the module count and printed module size, not one fixed square measurement.
For a handheld flyer, a 25 to 30 mm square can be a practical first proof, not a guarantee. Posters viewed from farther away need a proportionally larger code. The often-repeated 10:1 shortcut, where QR width is about one tenth of viewing distance, can be used as an early planning estimate, but it is not a universal QR standard and it does not replace testing.
When unsure, make the code larger, simplify the destination or use a managed short URL, and test at the farthest realistic distance. A dense code with a long static URL needs larger, sharper modules than a simpler pattern.
Protect the quiet zone
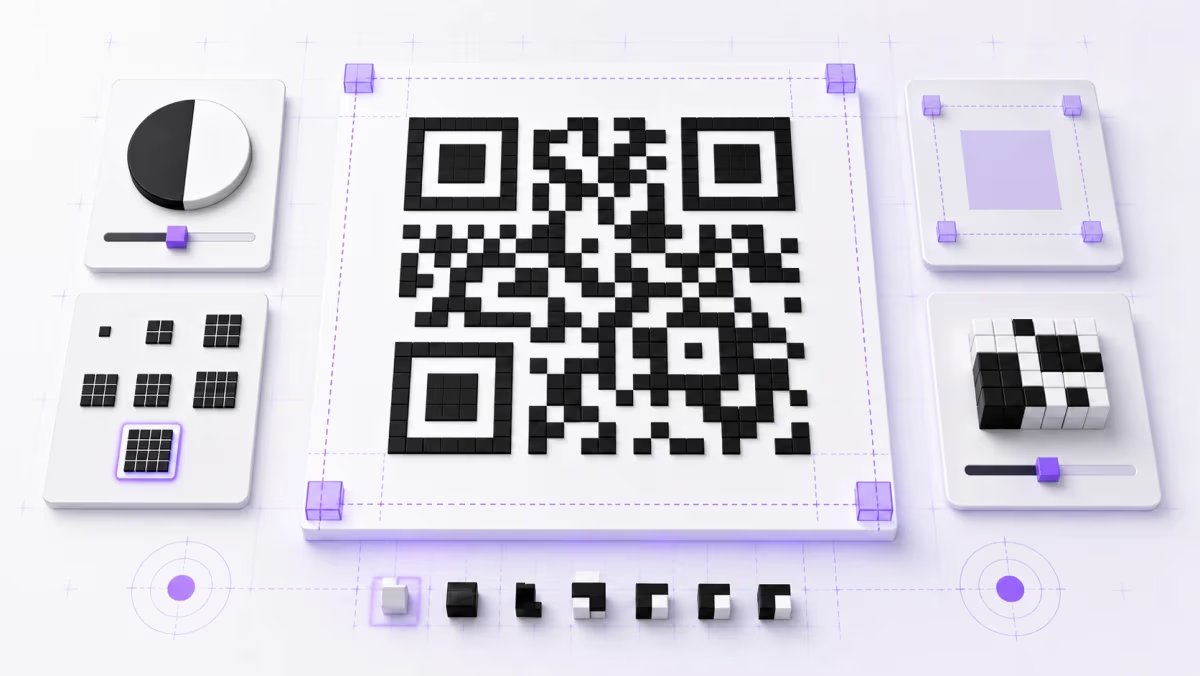
DENSO WAVE specifies a clear margin four modules wide on all four sides of a QR Code. A module is one small square in the pattern, so the physical margin changes with the code's module size. Do not replace this with a fixed millimeter value. Keep text, photos, borders, crop marks, folds, and decorative shapes outside that area.
Physical proof checklist
| Check | What to test | Why it matters |
|---|---|---|
| Final size | Print at 100 percent scale | A screen preview does not prove the printed module size |
| Viewing distance | Closest and farthest realistic positions | Poster scanning differs from holding a flyer |
| Lighting and glare | Typical indoor, outdoor, and angled light | Gloss, lamination, and reflections can hide modules |
| Material and finish | Actual paper, board, coating, fold, or curve | Texture and finishing can change contrast and shape |
| Phones | At least two current devices when available | Cameras and decoding behavior vary |
| Destination | Open the complete page and complete the promised action | A successful decode is only the start of the journey |
Contrast, logos, and error correction
Start with dark modules on a plain light background. Color can work, but test the final printed color rather than trusting the monitor. Avoid busy photos, gradients, or low-contrast areas behind the code. Keep the three large finder squares easy to recognize.
Error correction is not permission to cover the code. DENSO WAVE says Level M, which can restore about 15 percent of codewords, is commonly used. Higher levels add restoration capacity but also add data and can make the symbol denser. QRLynx automatic error correction uses M without a logo and increases it according to logo size. Choose a higher level for a justified print condition, then test the resulting pattern rather than forcing High for every job.
Keep a logo modest and let QRLynx's readability score flag design risks. The score checks the digital design, including contrast, density, logo size, error correction, and style. It cannot see the future paper, ink, coating, glare, crease, or installation, so pair it with a physical proof.
Where to place a QR on a flyer or poster
There is no universally best corner. Place the code where the reader has enough context to understand the offer and enough room to hold a phone steady. Keep it away from folds, perforations, trim lines, binding, curved surfaces, reflective hotspots, and the floor-level edge of a poster.
Pair it with a specific call to action. Scan for tickets, Scan for the menu, or Scan to register is clearer than Scan me because it states the result. Keep the promise close to the code, and make sure the destination matches it immediately.
For a poster, test the installed height and expected approach path. For a flyer, test while holding it naturally. If the code appears on both a poster and a handout, treat them as two physical placements, even when the visual campaign is shared.
Track each placement honestly
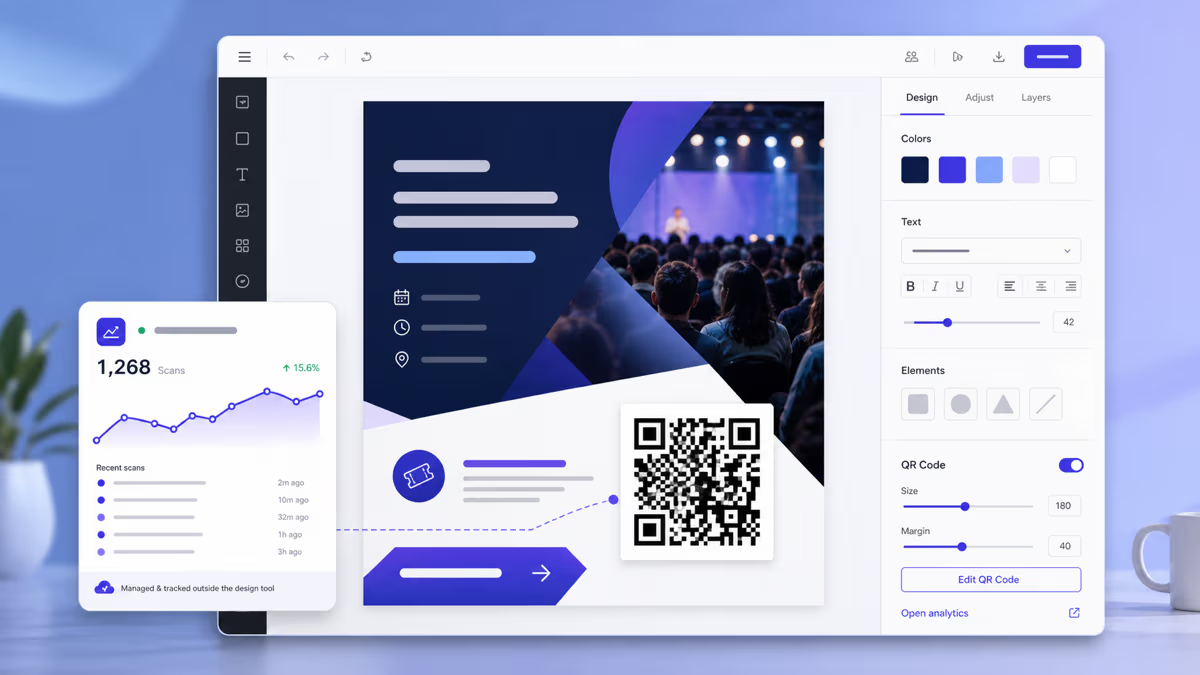
If you print the same dynamic QR on every asset, QRLynx can report activity for that code, but the code alone cannot tell whether a scan came from the lobby poster, the counter flyer, or the event handout. Use a separate QRLynx dynamic QR for each placement, or give each code a destination with its own campaign tags, when placement-level attribution matters.
Name the codes clearly in the dashboard, such as Spring launch, lobby poster and Spring launch, takeaway flyer. Compare eligible scans and the breakdowns available to the account's plan. Treat scans as interactions with the QR, not completed purchases, registrations, or visits. Measure the final conversion in the destination system when it supports that event.
Common print mistakes to catch before the run
- Cropping the quiet zone: restore four clear modules on every side.
- Sizing from a rule alone: print and test the real artwork at final scale.
- Using a changing page in a static QR: use a dynamic QRLynx Website / Link QR when the destination may move.
- Stretching the image: keep the QR square and preserve sharp module edges.
- Placing it over a photo: give the code a plain, high-contrast background.
- Adding an oversized logo: reduce the obstruction and retest the design.
- Testing only on screen: scan a proof on the intended stock and finish.
- Using one code for every placement: create separate codes when you need placement-level attribution.
- Forgetting the landing page: verify that the promised action is fast and clear on a phone.
Flyer and poster QR code questions
How do I create a QR code for a flyer in QRLynx?
Choose the campaign action, open the QRLynx generator, select the matching QR type, enter the verified destination or payload, decide whether it should be static or dynamic, add a clear frame or label, export it, place it without cropping the quiet zone, and test one physical proof before the full print run.
What QR type should I use on a flyer?
Website / Link is the usual choice for landing pages, tickets, forms, offers, and menus. Use PDF File for a document, Multi Links or Link-in-Bio for several choices, Event for final calendar details, or WiFi for venue credentials. The destination should match the action promised beside the code.
Should a flyer QR code be static or dynamic?
Use dynamic when the web destination may change or eligible scan analytics matter. Use static when the final payload can live directly in the code and is unlikely to change. A static code must be regenerated and reprinted when its encoded content changes.
What is the minimum QR code size for a flyer?
No single minimum covers every design and printer. A 25 to 30 mm square is a practical first proof for many handheld flyers, not a guarantee. Module density, print sharpness, contrast, viewing distance, material, lighting, and camera all affect the result, so test the final artwork at actual size.
Is the 10:1 QR sizing rule an official standard?
No. It is a planning shortcut, not a universal QR standard. Use it only to estimate an early size, then test the actual code, artwork, material, lighting, and viewing distance.
How much blank space should surround the QR code?
DENSO WAVE specifies a quiet zone four modules wide on all four sides. Because module size changes with the symbol, the physical margin also changes. Keep text, images, borders, crop marks, and folds outside it.
Should every printed QR use High error correction?
No. DENSO WAVE says Level M is commonly used, while Q or H may suit dirtier or more demanding environments. Higher correction can make the symbol denser. QRLynx auto mode adjusts for logo size, and the final design still needs a physical scan test.
Is SVG better than PNG for printing a QR code?
SVG or PDF can fit a professional vector workflow and are available from QRLynx Starter+. PNG and PNG HD are available on the free Starter plan and can print well when exported and placed at sufficient resolution. Ask the printer which file fits the job, avoid stretching, and test the proof.
Where should I put a QR code on a poster?
Put it where a person can approach, understand the promised action, and hold a phone steady. Keep it away from trim, folds, curves, glare, and the lowest edge. Test the installed height, viewing distance, and lighting rather than assuming one corner always performs best.
Can QRLynx tell which flyer or poster was scanned?
Only if the placements use separate QRLynx dynamic QR codes or otherwise distinct tagged destinations. Reusing one code across all assets combines its activity. Name separate codes by campaign and placement when attribution matters.
Does a successful QR scan prove the campaign converted?
No. It proves an eligible interaction reached the QR redirect or payload. A purchase, registration, donation, or other result should be measured in the destination system when that system supports conversion tracking.